Deploy functionality will be significantly changed in incoming release, this documentation is related to lastest BETA version
Database deploy
DbGate offers mechanism for automatic database deploy. While traditional way to achieve this uses migration SQL scripts, DbGate uses different way by default (migration scripts are also support). You define DB model with YAML files describing table structure and list data, and SQL files describing views, stored procedures and functions. This model is deployed to database, comparing current structure with structure in model, create missing columns and tables abnd update view and procedure definitions. No destructive actions (which could lead to data loss) are performed, so when you remove column or table from model, it remains in database. If you rename column in model, new column with new name is created and old column remains in in database.
Deploy could be invoked from command line (using node scripts), or from DbGate GUI. You could also use compare DB function for visual compare differences between model and real database.
Table yaml format
name: Album # table name
columns:
  - name: AlbumId # column name
    type: int # data type. is used directly in target SQL engine
    autoIncrement: true # column is autoincrement
    notNull: true # column is not nullable (default: is nullable)
  - name: Title
    type: nvarchar(150)
    notNull: true
  - name: ArtistId
    type: int
    references: Artist # name of table. Is used for creating foreign key
  - name: isDeleted
    type: bit
    notNull: true
    default: 0 # default value
  - name: created
    type: timestamp
    default: current_timestamp
primaryKey:
  - AlbumId # list of primary key column names
indexes:
  - name: UQ_AlbumTitleArtistId # index name
    unique: true # whether index is unique. default=false
    columns: # list of index columns
      - Title
      - ArtistId
data: # static data (only for list tables)
  - AlbumId: -1 # values for all columns, which should be filled
    Title: Predefined static album
- Names are defined without schema name, one model describes one schema
- Default values are defined as SQL expressions, so if you want to define string, you must use ‘single quotes’
- You could define static data for table
Use of migration scripts
You could combine more traditional migration scripts with DbGate specific deploy management, some more specific objects could be created with migration scripts. Scripts types are determined by file extension, directory layout is the user’s choice, DbGate is not affected by this.
The following script extensions are supported:
*.predeploy.sql- scripts are run before every deploy process*.install.sql- scripts are executed only if they are different from previous deploy*.uninstall.sql- this script is paired to.install.sqlfile, is executed before new version of*.install.sqlfile is executed*.once.sql- scripts are executed only once*.postdeploy.sql- scripts are run before every deploy process
DbGate uses table dbgate_deploy_journal for tracking of deploy scripts deployed to database. This table is create automatically, when you deploy any project with at least one migration script.
Usage in DbGate GUI
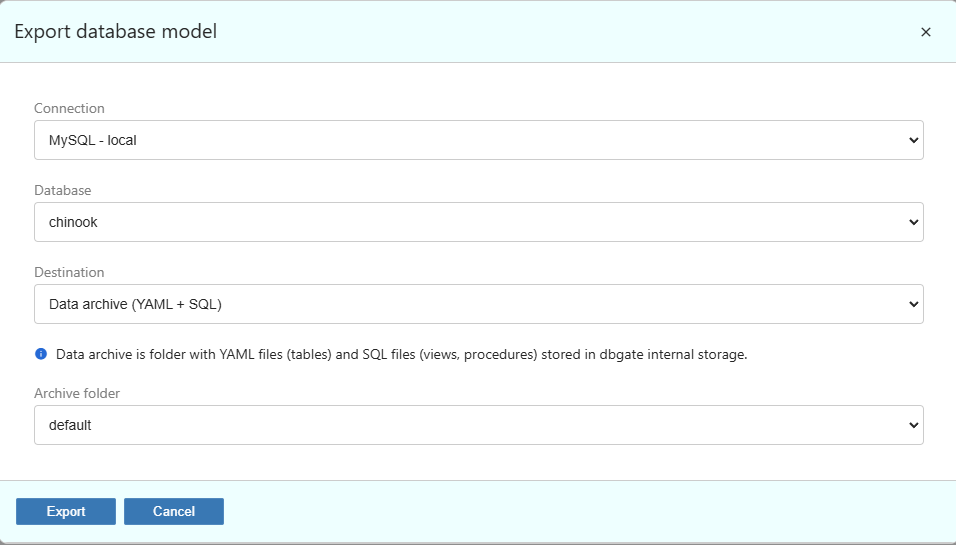
- In connections, database context menu, choose “Export DB model” (Premium only). DB model is saved into directory, or into file. If you plan to use Deploy functionality, choose Data archive or Folder (YAML + SQL) destinations.
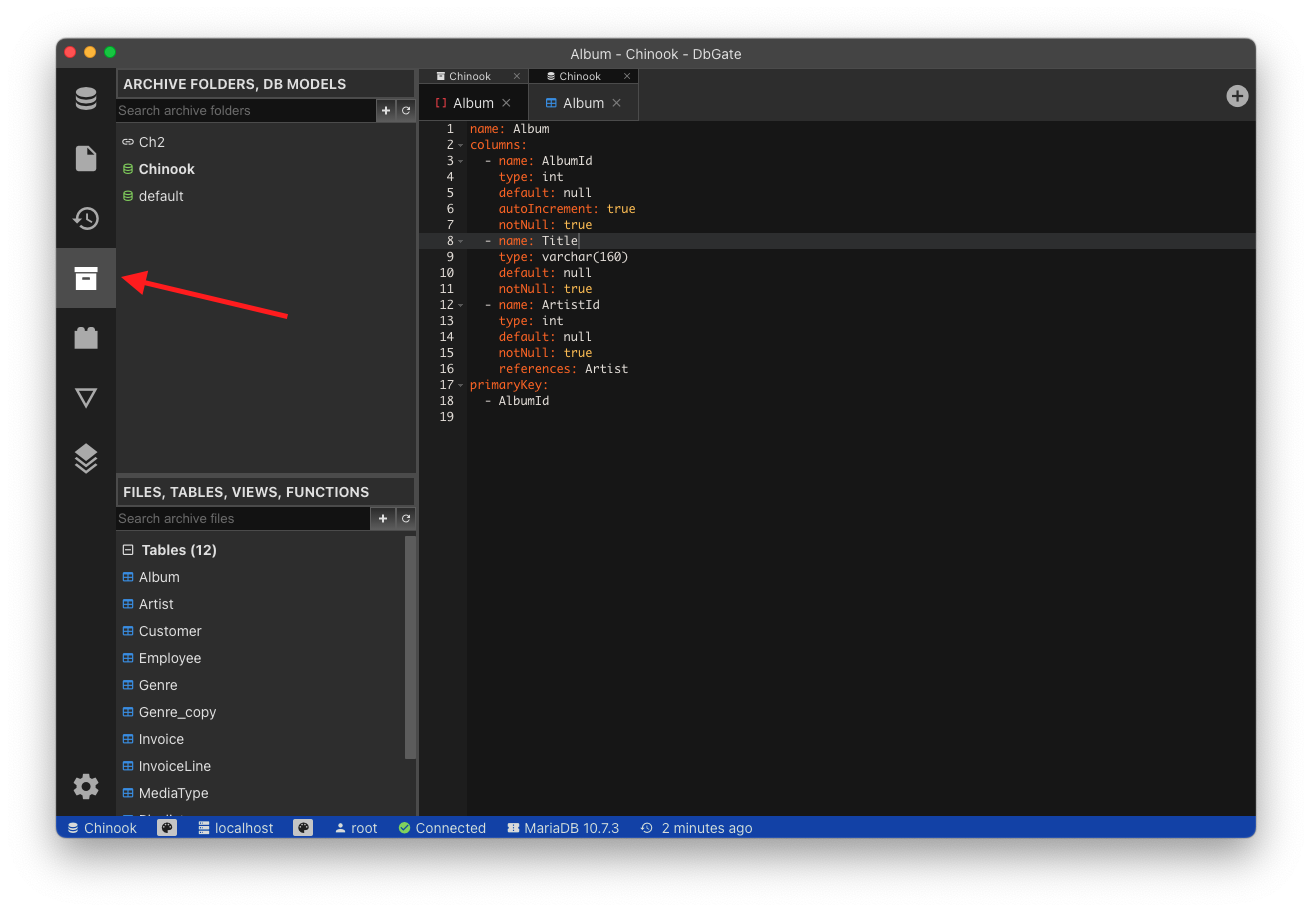
- Open archives widget, you should see downloaded model
- In model context menu, you could do some operations with model:
- Generate deploy DB SQL - compares current database (you could see it in statusbar) and generates SQL script, which deploys changes from model into creent database
- Shell: Deploy DB - generates JavaScript shell, which could be used for deploying DB
- Compare with {current database} - graphically compares current database with model (Premium only)


Usage from command line
Copy following script into file deploy.js and update database configuration. Also you should change modelFolder, according to you model folder location.
Running this script requires NodeJs installed on your computer.
const path = require('path');
const dbgateApi = require('dbgate-api');
dbgateApi.initializeApiEnvironment();
const dbgatePluginPostgres = require('dbgate-plugin-postgres');
dbgateApi.registerPlugins(dbgatePluginPostgres);

async function run() {
	await dbgateApi.deployDb({
		connection: {
			server: process.env.DB_SERVER || 'localhost',
			engine: 'postgres@dbgate-plugin-postgres',
			password: process.env.DB_PASSWORD || 'test',
			user: process.env.DB_USER || 'postgres',
			port: process.env.DB_PORT || 5432,
			database: process.env.DB_NAME || 'my_database',
		},
		modelFolder: path.join(__dirname, 'database'),
	});
	await dbgateApi.finalizer.run();
	console.log('Finished job script');
}
dbgateApi.runScript(run);
Then, install required modules, running commands in directory with deploy.js:
npm install dbgate-api
npm install dbgate-plugin-postgres
Run database deploy with running command:
node deploy.js
This script is for PostgreSQL, other database engines requires driver changes.
Thios script coiuld be generated also automatically from DbGate GUI, use “Shell: Deploy DB” context menu from archive folder, then “Copy nodejs script” on generated script will copy valid script. All packages, which are used in require command, must be installed with npm install.